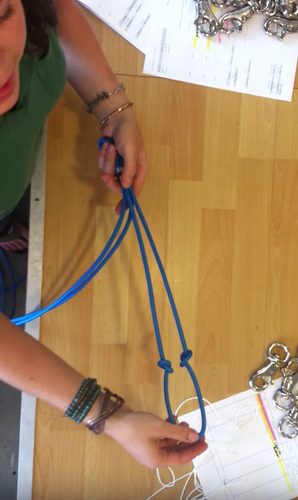
Step-by-step instructions to tying a Fiador knot!
31st Jan 2020
Learn how to make the Fiador Knot on a Halter!
First, you are going to create a small loop and a larger loop (figure 8 style) and you are going to push your short end under and over and straight out. Then take your long end and go opposite. Then pull all the way through and slightly tighten so you can get organized.
Now you should have a square created by the rope (the long end that you just tied in) and you’re going to take your nose and go under the short end and then go up through that square and that'll be the center of your Fiador. Now tighten!
Half of the knot is tied now, so flip over your knot and you're going to work from left to right. The first end is going to be your short end and you're going to go from left to right, from underneath and come up through the center where the noseband is. Tighten that!
Now go to the long end and go up through the center. Tighten each piece of rope individually and there's your finished fiador!
As for the rubber band below, this is a rubber band (you can use a regular one we use a rubber band elasticizer) to keep the fiador loop in place!
If you are a visual learner, check out this video!


